
How to Remove Your Car’s Old Tint Yourself
Hello, and welcome! If you're considering removing the old tint from your car, you're in the right place. This step-by-step guide will help you handle the process like a professional, even with minimal tools. Whether you’re trying to save money or enjoy a DIY project, this guide makes the task approachable and achievable.
Removing window tint can be a bit challenging it requires time, patience, and the right techniques to avoid any mishaps. But don’t worry; with the information below, you’ll have all you need to get the job done safely and effectively. Let’s jump in!
Why Remove Tint Yourself?
Window tint removal is a time intensive process, which is why tint shops often charge a premium for the service.
This is because the process demands precision, effort, and in some cases, the use of strong chemicals to properly dissolve adhesive residue.
If you're up for the task, taking on tint removal yourself can save you money and give you the satisfaction of a job well done. That said, it’s important to be prepared and patient to achieve professional level results.
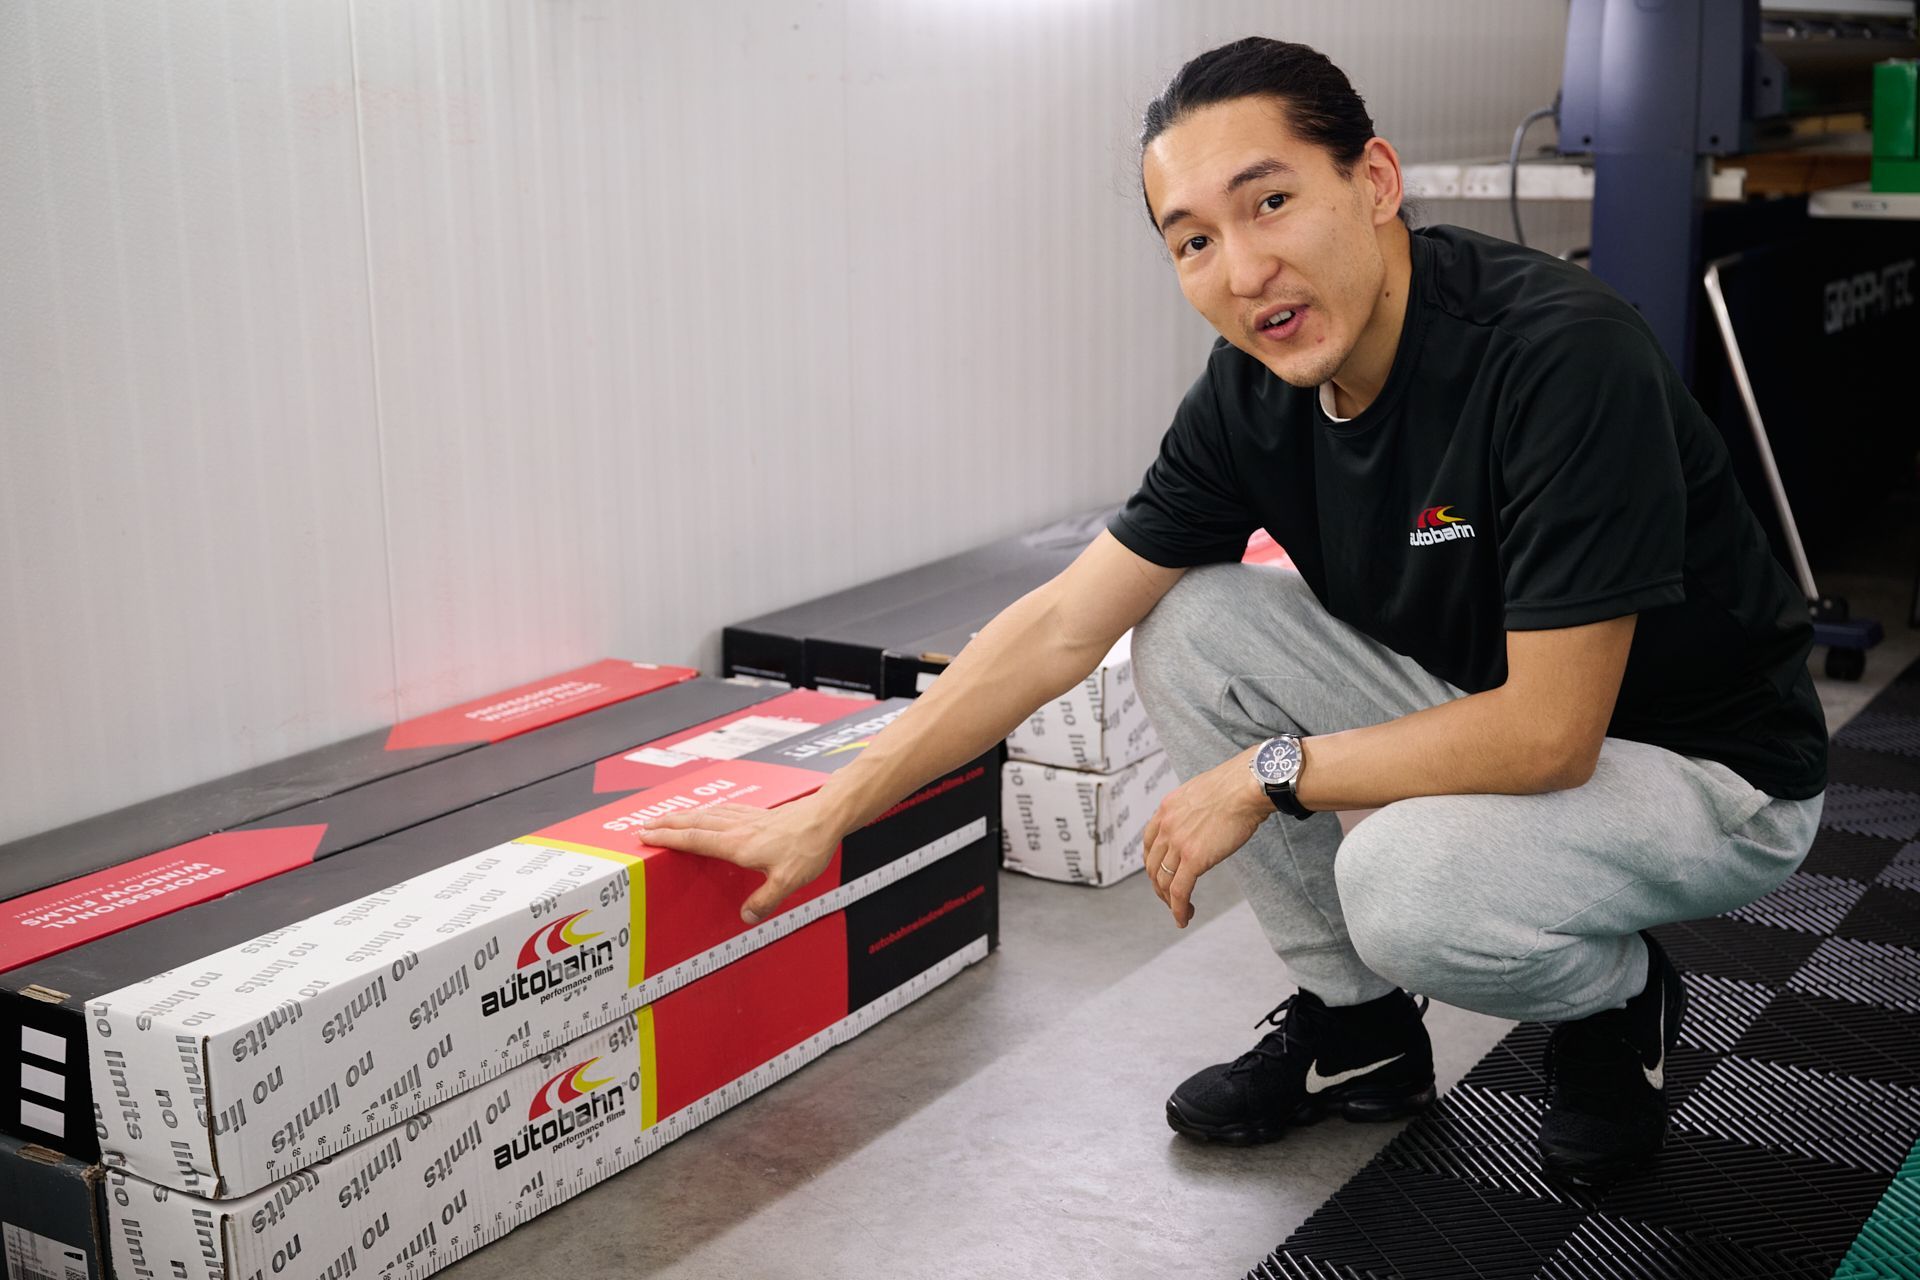
What You’ll Need: Tools and Supplies
Before you begin, gather the following items. Most can be found at your local hardware store or online retailers:
- Steamer
- ATR, Windex, or 409 cleaning product
- Scrub pad
- Soapy water
- Squeegee
- Microfiber towel
- Olfa knife or snapping knife
- Razor blade
- Soak shield rope
These tools will help ensure a smooth and effective tint removal process.
Step-by-Step Tint Removal Guide
Step 1: Heat the Tint
Use a steamer to warm the tint film and soften the adhesive beneath it. Start steaming the interior side of the window where the tint is applied. If it’s cold outside, be cautious not to overheat the glass, as a sudden temperature change can cause it to crack.
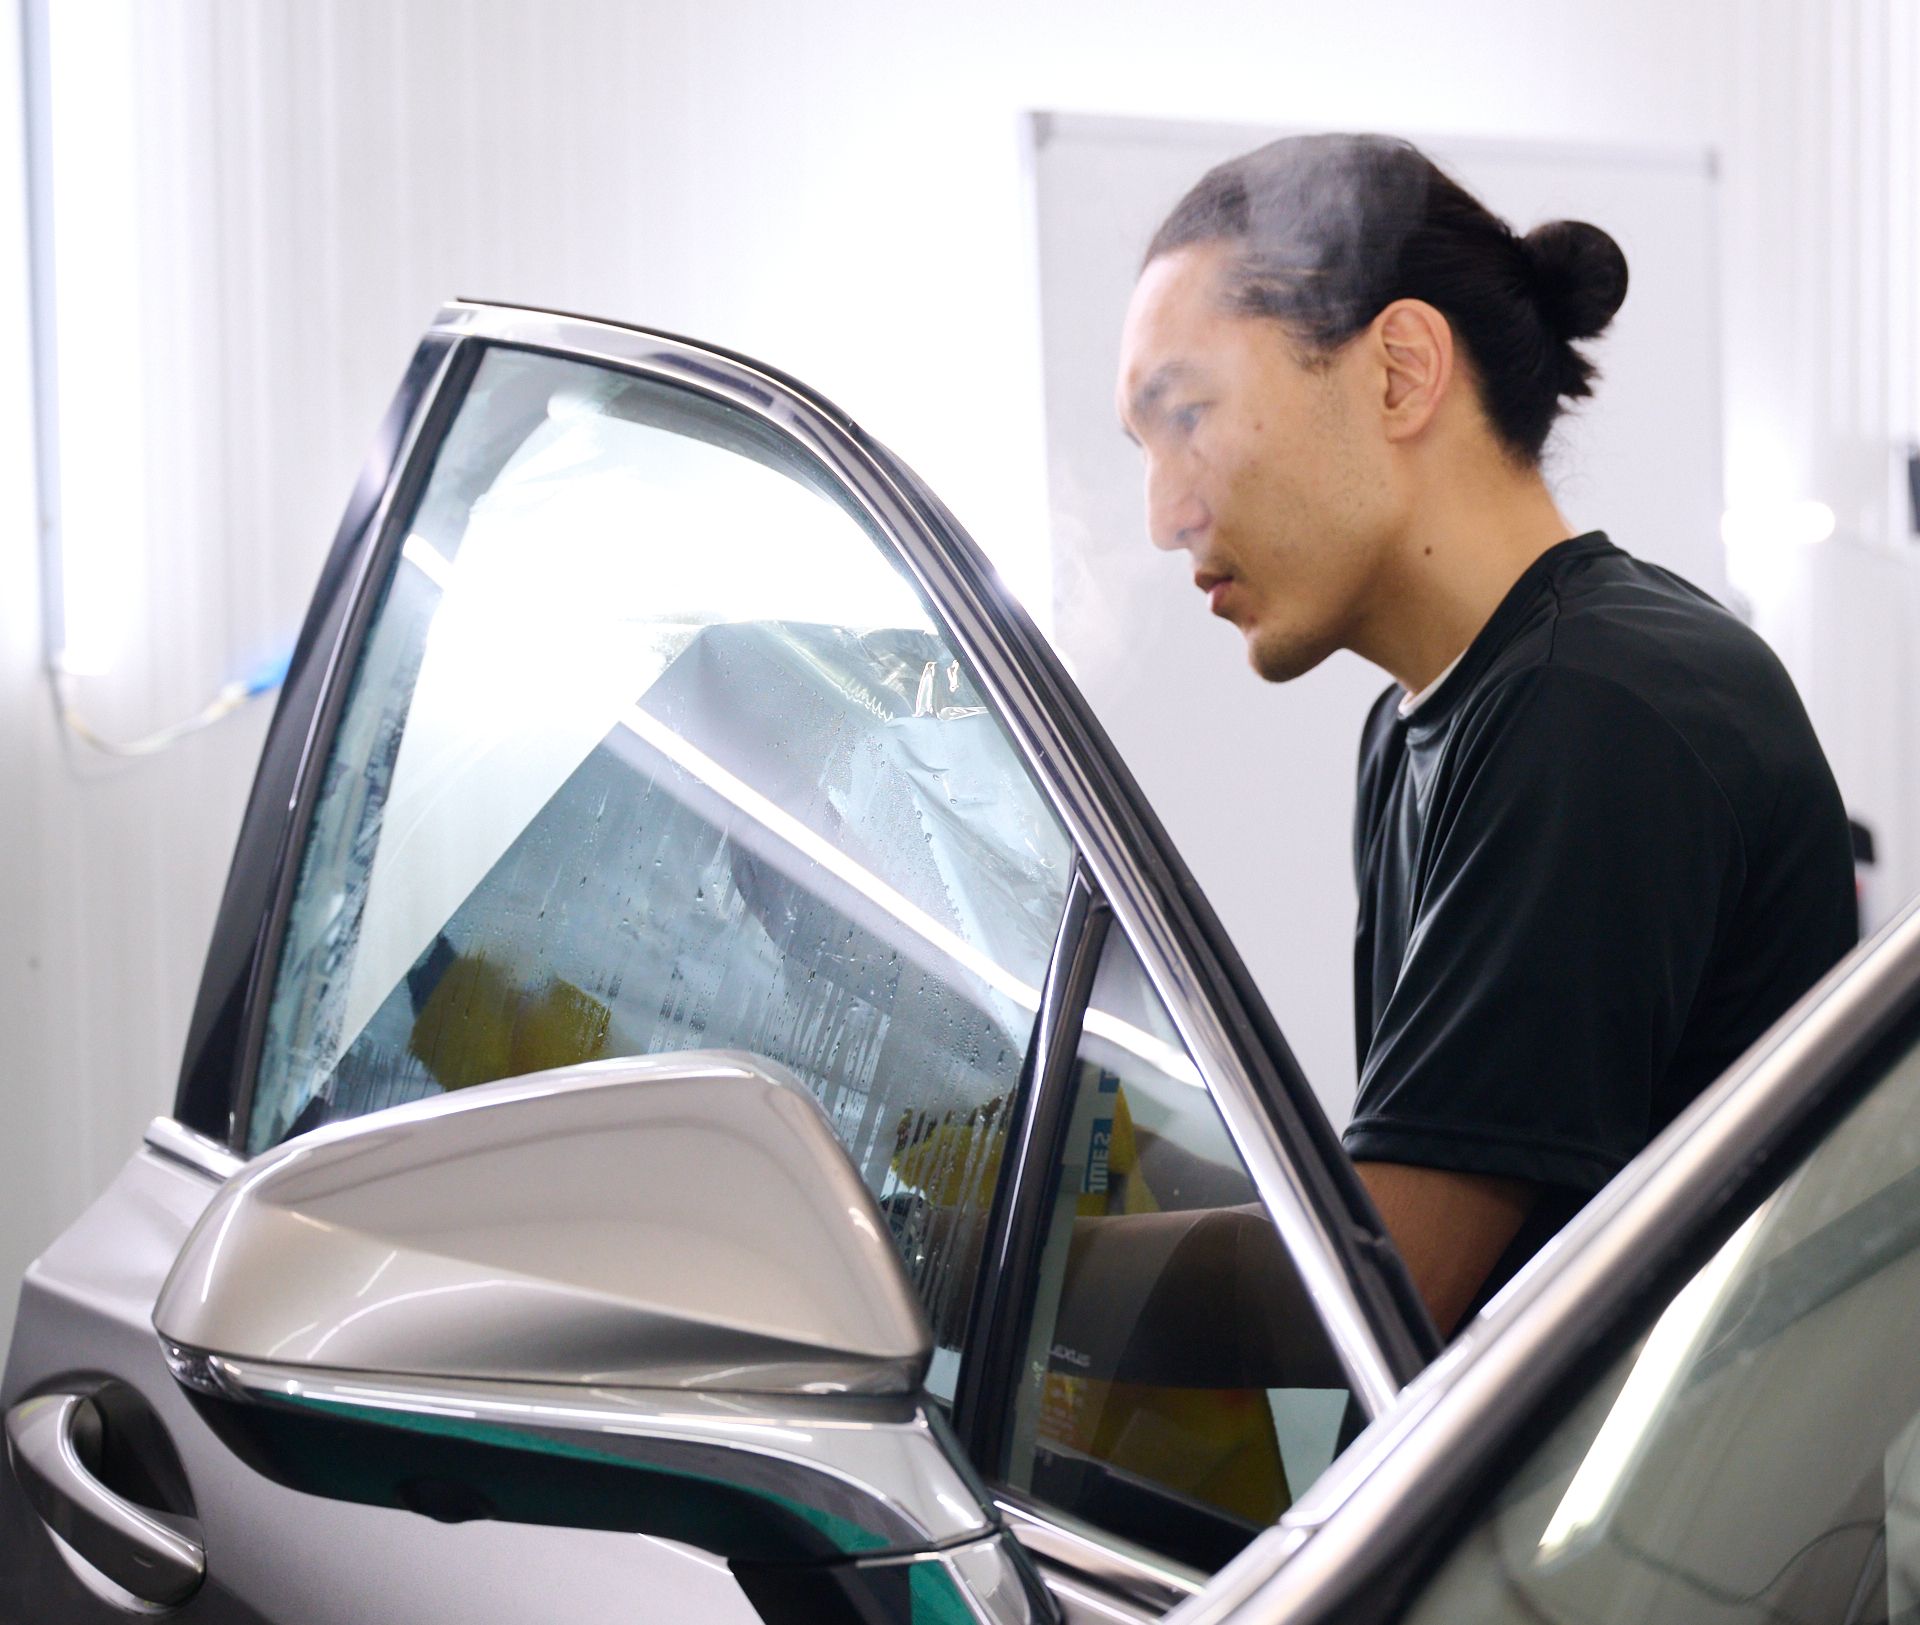
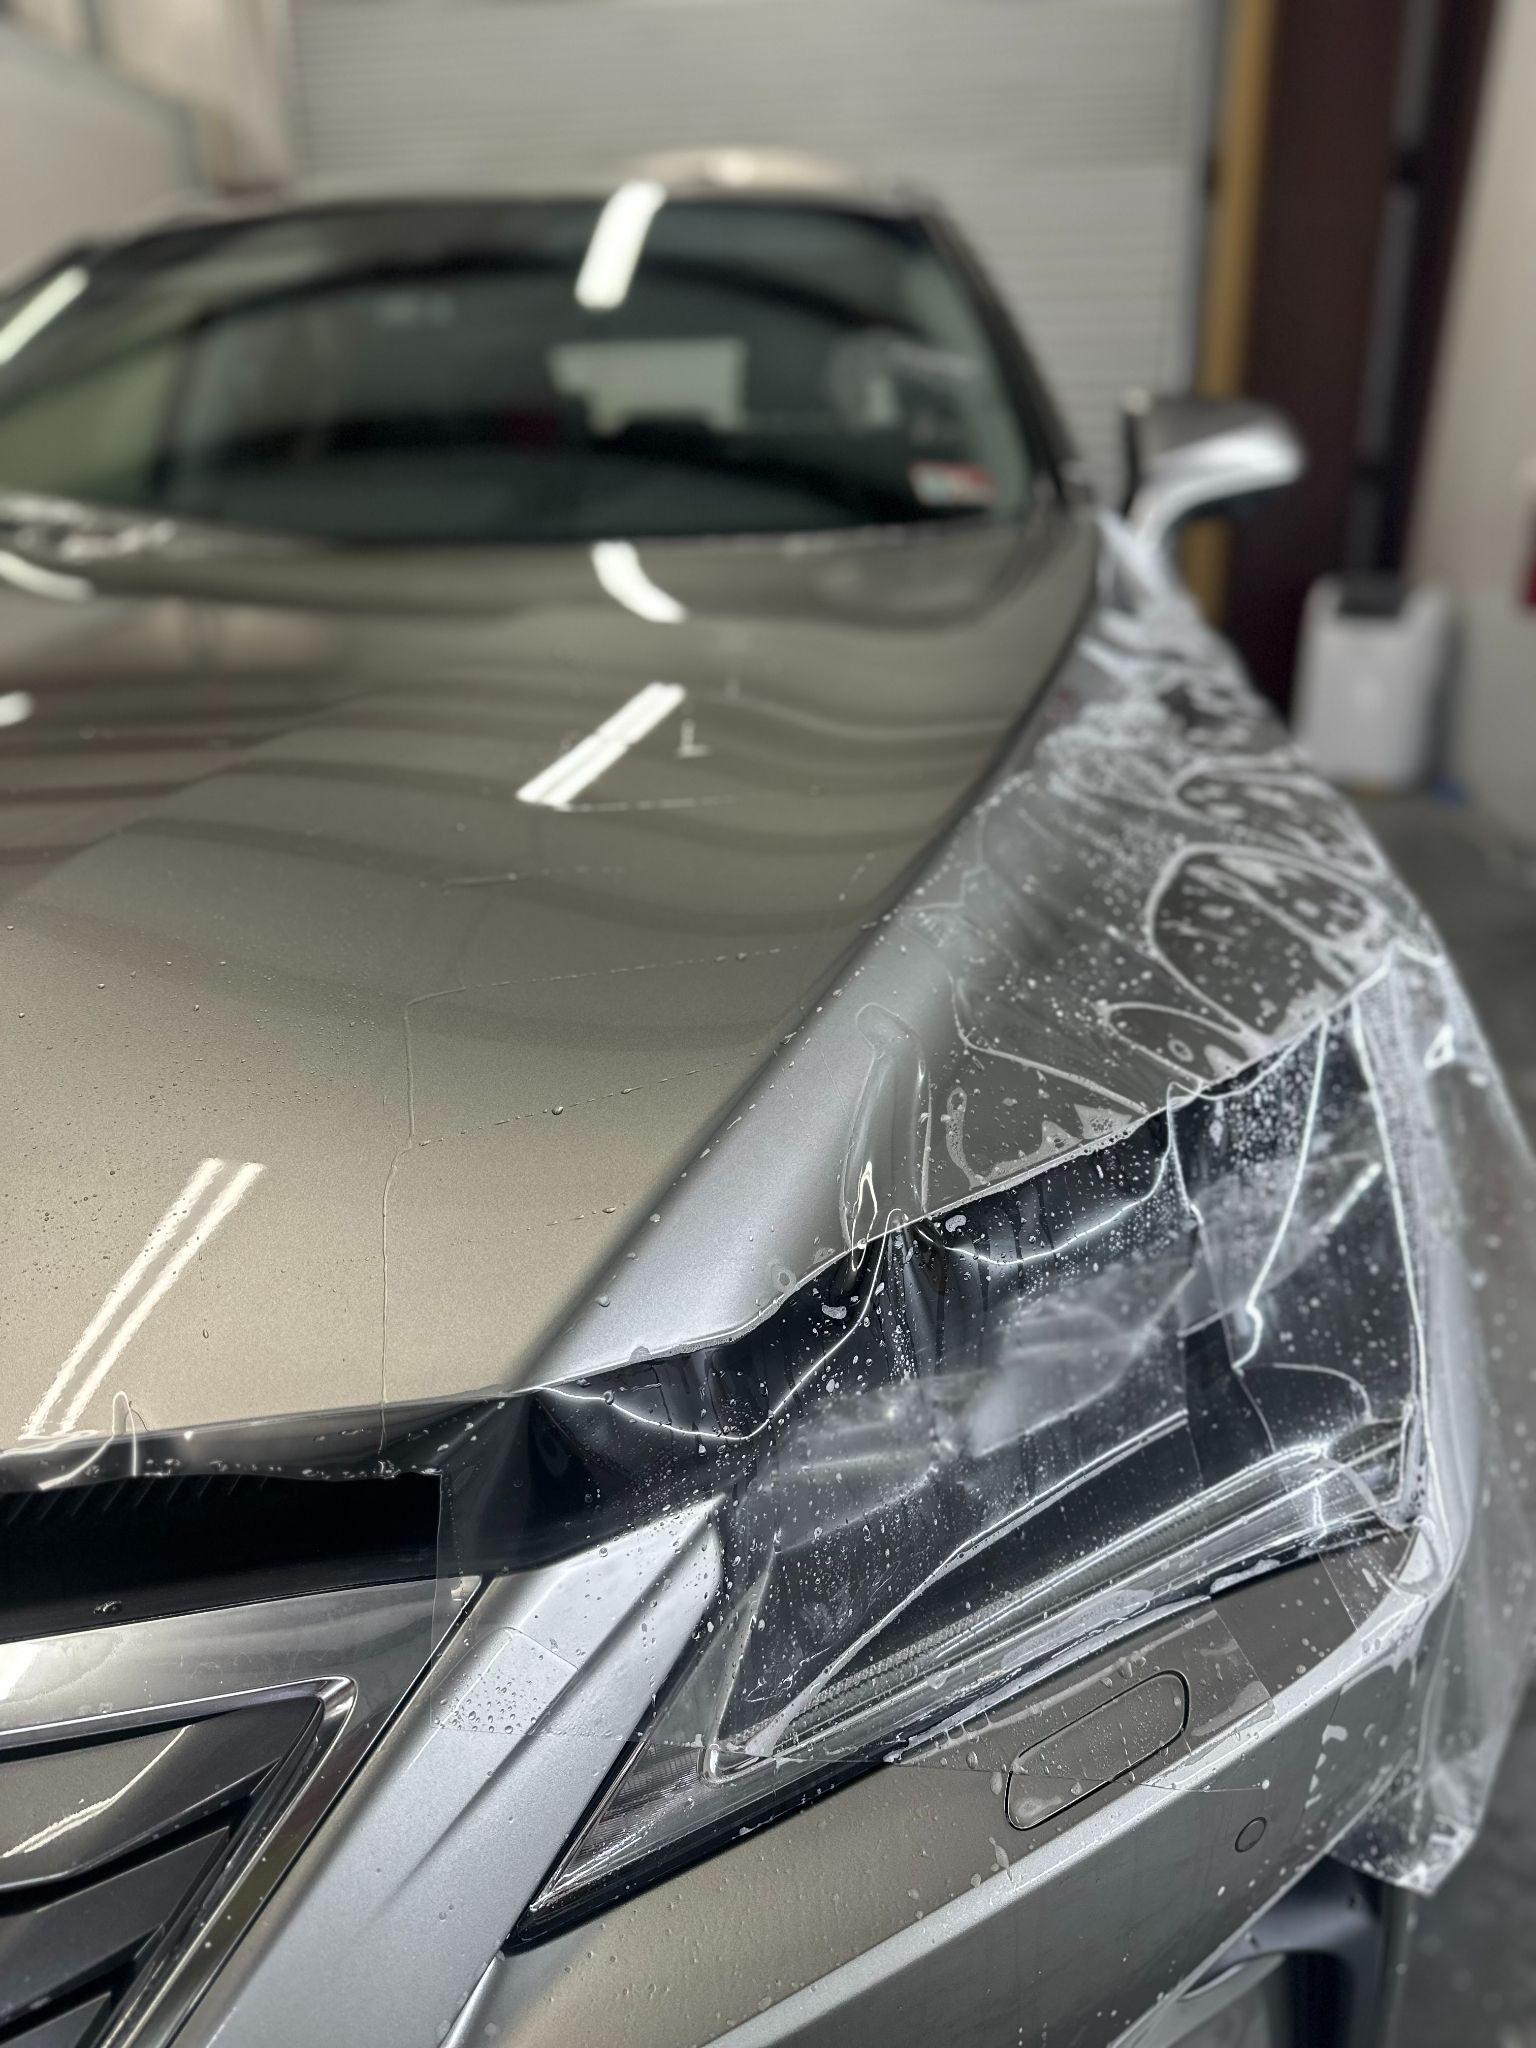
Step 2: Peel the Tint
Roll the window down slightly about an inch and carefully peel the tint from one corner. Use your fingers or a knife to lift the edge gently, then pull it slowly and steadily. Avoid tugging too quickly, as this can leave behind more adhesive, making the cleanup more difficult.
Step 3: Apply Adhesive Remover
Spray ATR, Windex, or 409 cleaning solution generously over the window, paying special attention to areas with leftover adhesive. Don’t forget to spray behind the gasket, where adhesive often accumulates. Allow the cleaner to sit for 1 to2 minutes to loosen the residue.
Step 4: Scrub and Loosen
Spray soapy water onto the adhesive areas and use a scrub pad to loosen any stubborn residue. Be thorough but gentle, especially around the edges and corners.
Step 5: Scrape the Residue
Use a razor blade to scrape off the softened adhesive. For tight spots behind the gasket, switch to an Olfa knife for better control. Be sure to hold the blade at a low angle to prevent scratching the glass surface.
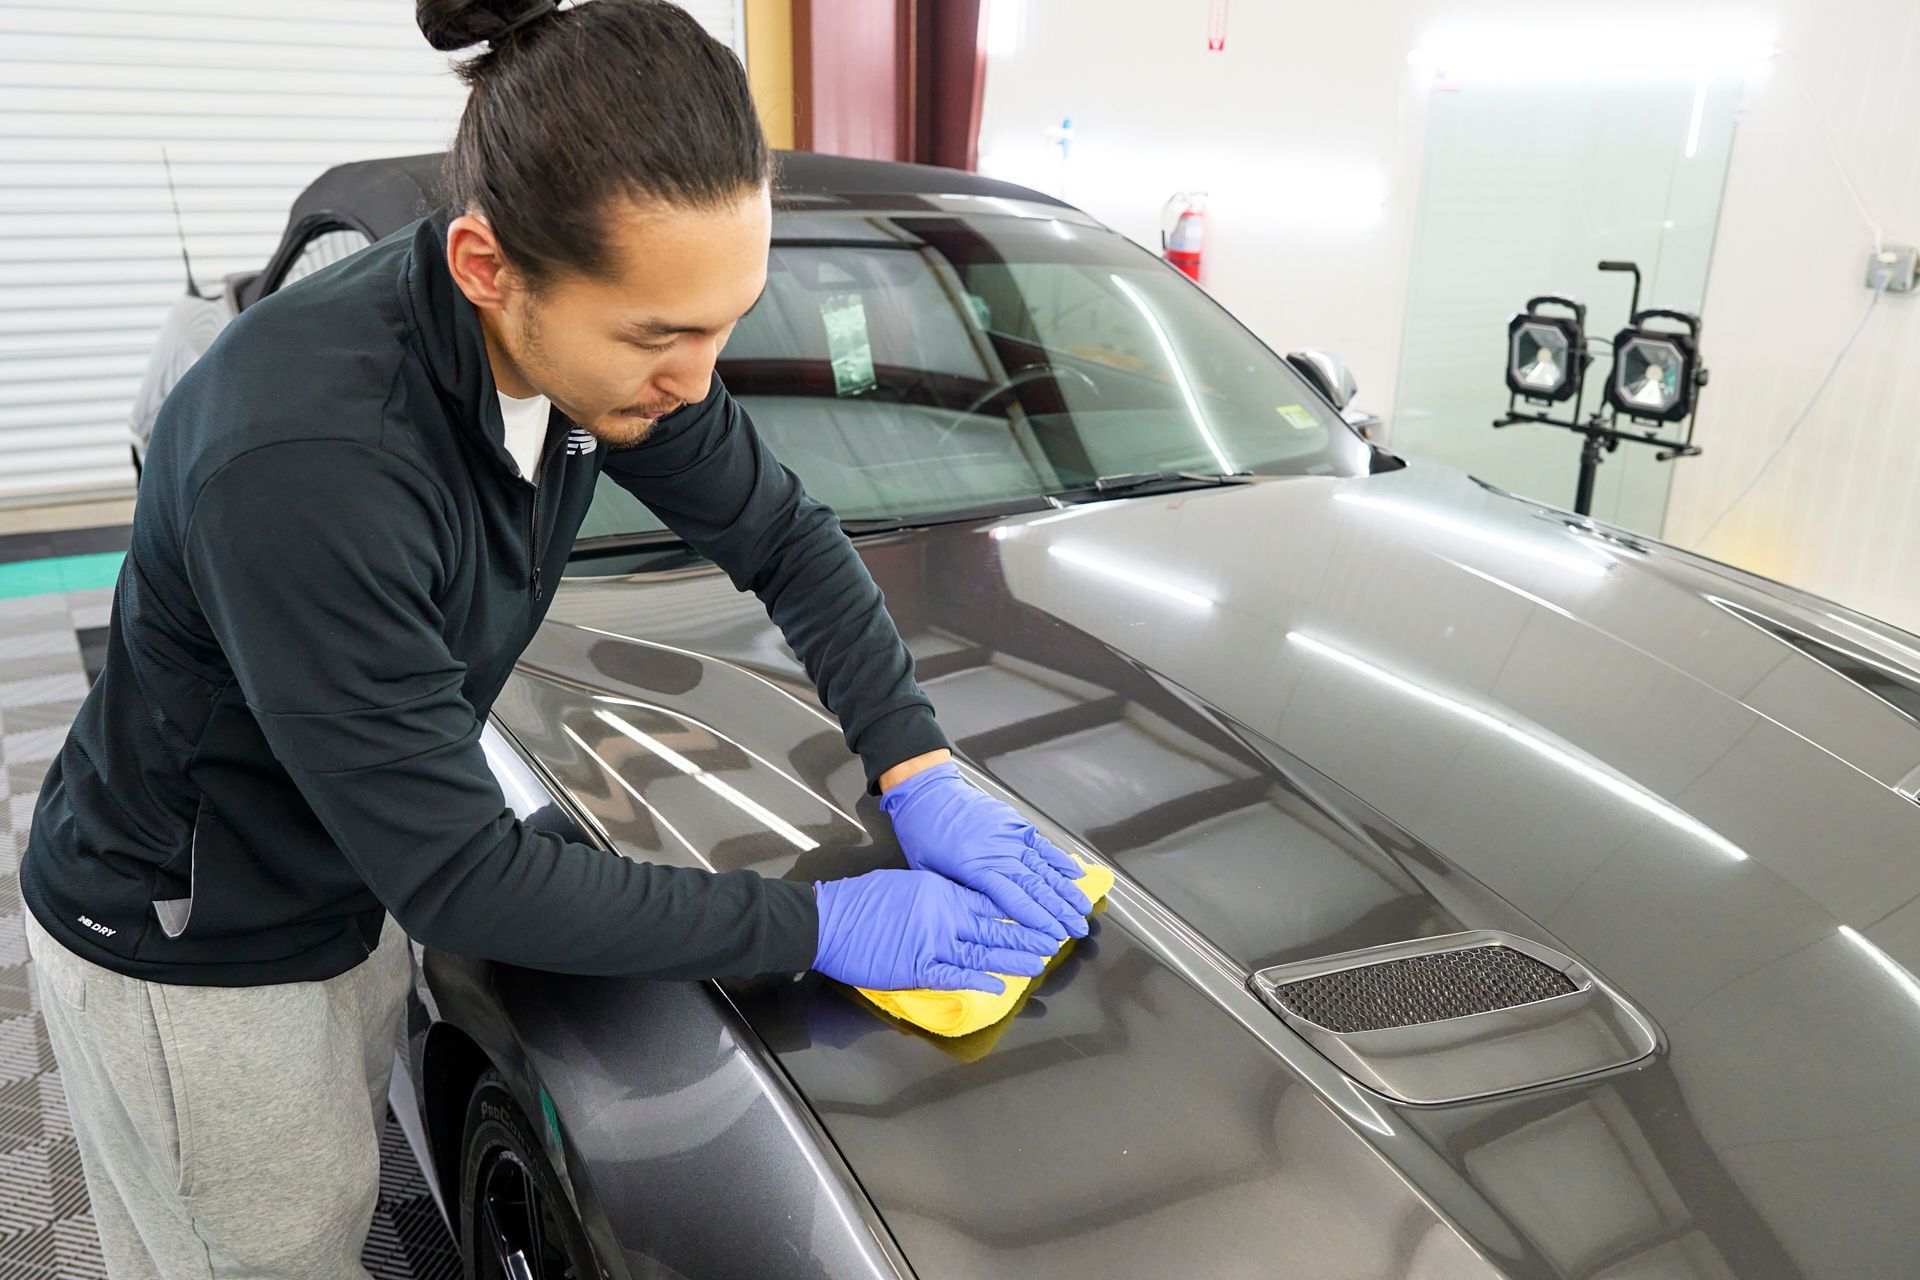
Step 6: Final Clean
Once the adhesive is completely removed, spray the window with soapy water again and clean it with a squeegee. Wipe down the surface with a microfiber towel for a streak free, professional finish.
Special Considerations for Windshields
Removing tint from front or rear windshields requires extra care because of the delicate defroster lines:
- Insert a soak shield rope at the bottom of the windshield to protect any electronic components from moisture or cleaner runoff.
- Follow the same steps outlined for side windows, but avoid using razor blades or knives, as they can damage the defroster lines.
- When peeling the tint, go slowly and gently to avoid pulling up the defroster lines. This is especially important for vehicles made in the United States, as their defroster systems are more prone to damage.
- Avoid using sharp tools entirely on curved windshields to prevent scratching.
Alternative Method (No Tools Required)
If you don’t have access to a steamer or specific tools, you can try this method:
- Select a sunny, warm day.
- Spray ATR, Windex, or 409 onto the window and cover it with a black trash bag. The black plastic will trap heat and help loosen the adhesive underneath.
- Park your car in direct sunlight for 2–3 hours.
- Gently peel the tint from one corner. If it doesn’t come off easily, allow it to sit longer.
- Once the film is removed, clean off any remaining adhesive with ATR and follow up with soapy water and a squeegee.
Why Do Shops Charge for Tint Removal?
At our shop, we charge $50 per window or $250 for a full vehicle (four doors and a rear windshield). If you’re having the vehicle retinted, we offer tint removal for $200. These prices reflect the time, tools, and expertise required to perform a clean, damage free removal.
Understanding professional pricing can help you decide whether to take on the task yourself or leave it to the pros. Professional installation can save you money, time and headache.
Final Thoughts
Removing old window tint yourself can be a satisfying project that saves you money. With the right tools and techniques, you can achieve professional results and restore your car’s clean, clear windows.
If you’re unsure about handling the process or would rather leave it to experienced hands, our team is here to help. We take pride in delivering clean, efficient tint removal services that protect your vehicle and ensure flawless results.
Good luck, and happy tinting! Let us know if you have any questions or need assistance.
Stay Cool. Look Cooler.
Founded in 2023, GT Tinting LLC is your trusted expert in window tinting and paint protection film (PPF) services for vehicles and properties in Hampton, Virginia. We take pride in every project whether it’s enhancing your car’s comfort, increasing privacy at home, upgrading your business space, or protecting your vehicle’s paint.
CALL (757) 770-4700
BOOK NOWGet a Quote
Hours of operation
Monday - Sunday: 8:00 AM - 5:00 PM
Designed by the team at Detailers Roadmap, a platform developed for detailing operators across the globe.